Step by step
book cover art
1
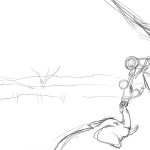
Chatted with Client, got all the measurements for the front back and spine. Jotted down all the details of what the client wants the cover to look like in a note page. The fun begins with a super messy sketch. As messy as you like.
2
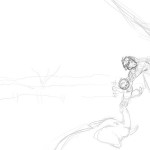
Think about where the faces should be…facing.
3
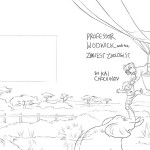
…and then add sketch details. No shading at all because that would just confuse me during the coloring process. Looking at photographs of Africa to get the general shape of the trees and grass. Looking at photos of Hot air balloons and elephants. There is a hamster in the pocket of the boys shirt.
4
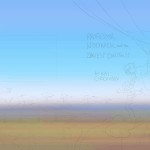
Choosing the basic color palette. Bands of colors going horizontal across the page makes for a great base. I will pull samples from these colors for the rest of the picture.
5
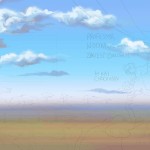
Using a round brush of medium hardness at 100% opacity, I block out the clouds. I try not to get too detailed as I get carried away with my backgrounds sometimes when I should be concentrating on the foreground. I LOVE clouds.
6
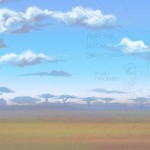
For depth, the furthest trees are all blueish purple. Same brush.
7
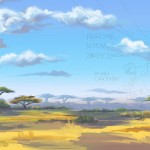
New layer and adding the basic colors for the foreground. The sunlight will be patchy because of the partial cloud cover. Same brush
8

New Layer blocking the main characters in dark purple. I find it best to let the foreground have the most vibrant colors and the darkest shadows as well as the clearest highlights for the most part. It keeps the focus on the main characters.
9

Using the smudge tool and some more textured brushes, I blend the clouds, add some definition to the trees and grass. Once again, must not get too carried away with the background. If I were drawing for myself, I’d just draw endless clouds, trees and mountains…Concentrate!
10

Begin coloring the people and the elephant. choosing colors, adjusting skin tones.
11

I colored the balloon and the last few details. Purple shadows tie in the main characters with the rest of the picture. Yay!
12

Choose a font, place the title place the text on the spine and we are DONE!